
Infratech makes some of the best electric infrared patio heaters on the market, full stop. If you have a covered or semi-covered patio and access to 240V wiring, the W-Series or CD-Series will outperform almost every propane mushroom heater or budget electric unit you've considered. The tricky part is picking the right wattage and figuring out how many units you need, because buying one underpowered heater is the most common mistake people make.
Infratech Patio Heaters Reviews: Best Models Compared

Willa Brennan
29 May 2026
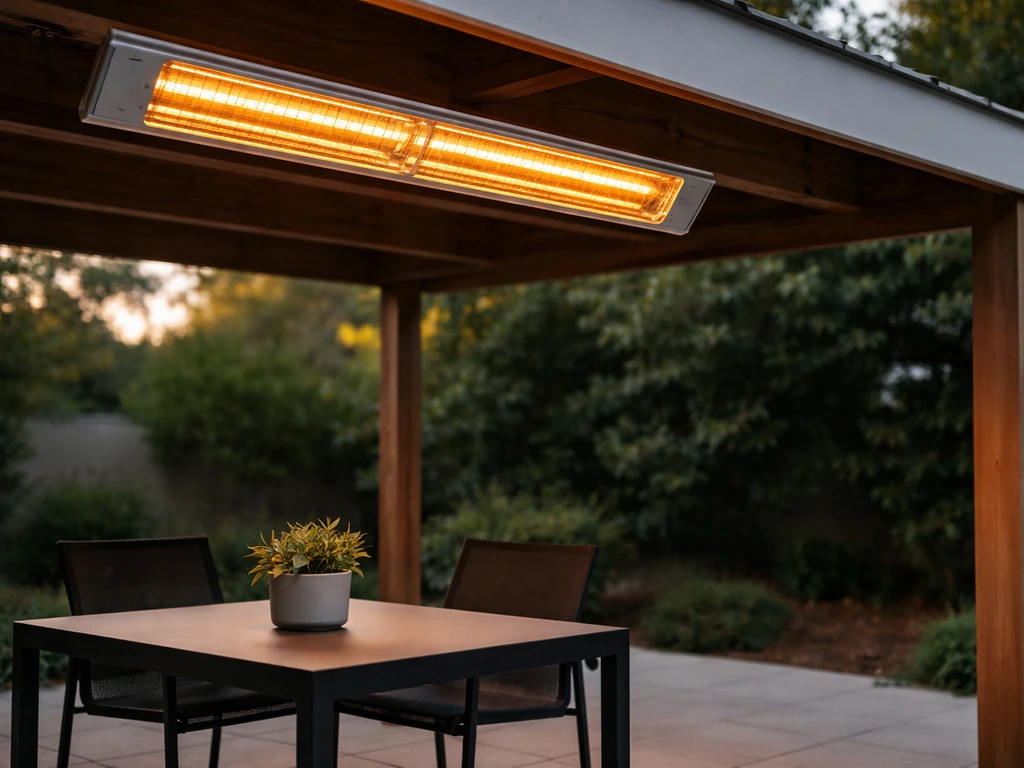
Consumer Reports also discusses patio heaters by fuel type, including electric, propane, and natural gas, and frames coverage with example BTU and warming-area sizes in its comparison buying one underpowered heater is the most common mistake people make. .
This guide cuts through the spec sheets and tells you exactly what to look for, what the real-world performance is like, and whether Infratech is worth the price for your specific situation.
What Infratech is and how infrared heating actually works
Infratech has been building electric infrared heaters for more than 50 years and positions itself as a pioneer in the space. That's not just marketing fluff: the brand's engineering focus on medium-wave quartz elements is genuinely different from cheaper alternatives, and it shows up in the day-to-day experience of using one.
Here's the core idea: infrared heat works like sunlight, not like a furnace. Instead of warming the air around you (which wind immediately blows away), the heater emits infrared light that travels through the air and is absorbed directly by solid objects, including you, your furniture, and your patio floor. That's why you feel warm almost instantly when you step under one of these heaters, even on a cold night.
Infratech uses heated quartz elements to produce this infrared radiation, and they emit a barely noticeable, soft amber glow rather than the harsh bright light you get from short-wave or halogen-style infrared heaters. If you've ever sat under a blinding red lamp at a restaurant and found it uncomfortable, Infratech's medium-wave approach is a significant improvement.
From an efficiency standpoint, Infratech claims their heaters convert over 90% of input energy directly into radiant heat. There's no flame, no combustion, no odors, and no need for ventilation. That makes them a particularly smart choice for covered patios, pergolas, and enclosed outdoor dining spaces where propane fumes would be a concern and natural gas lines may not be available.
The Infratech model lineup: what actually differs between series
Infratech organizes its heaters into a few main series. At a glance they all look similar, but the differences matter a lot when you're matching a heater to your space.
| Series | Element Type | Wattage Range | Best For | Mounting Height |
|---|---|---|---|---|
| W-Series | Single quartz element | 1500W to 4000W | Smaller spaces, spot heating, budget-conscious buyers | 6–10 ft (UL Listed minimum 6 ft) |
| WD-Series | Dual quartz element | Higher output (dual) | Medium patios, wider coverage from one fixture | 8–10 ft recommended |
| C-Series | Single quartz element, commercial-grade build | Multiple capacities | Residential and light commercial covered patios | 7–12 ft |
| CD-Series | Dual quartz element | 3000W to 6000W+ | Larger patios, restaurant-grade coverage | 7–12 ft |
The W-Series is Infratech's entry point for residential buyers. It's widely available through dealers like BBQGuys and comes in wattages from 1500W up to 4000W. The 4000W W4024MG, for instance, is designed to heat a 10 by 10 foot area when mounted at 8 to 10 feet. That's a genuinely useful benchmark: a single unit covers a small dining table and the chairs around it.
The CD-Series steps things up. The CD 3024 (3000W) covers roughly 7 by 7 feet from a 7-to-8-foot mounting height, while the CD 5224 (5000W) reaches a 10 by 10 foot footprint at 8 to 10 feet. The dual-element design in the CD and WD series means you can get more heat output without having to install as many separate fixtures, which simplifies wiring and mounting. The CD-Series in particular has picked up strong reviews for its wind resistance, which I'll get into in the next section.
Infratech also offers controls ranging from simple wall dimmers to universal control panels with 0 to 100% intensity adjustment, auto shutoff timers, and even smartphone and voice control integration when paired with compatible Wi-Fi or Bluetooth devices. This zoned control approach is a real selling point if you want to dial in comfort precisely rather than just turning a heater on or off.
Real-world heating performance: coverage, heat throw, and wind
This is where buyer expectations can get misaligned, so let me be direct about what the numbers mean and where they break down.
Coverage and mounting height
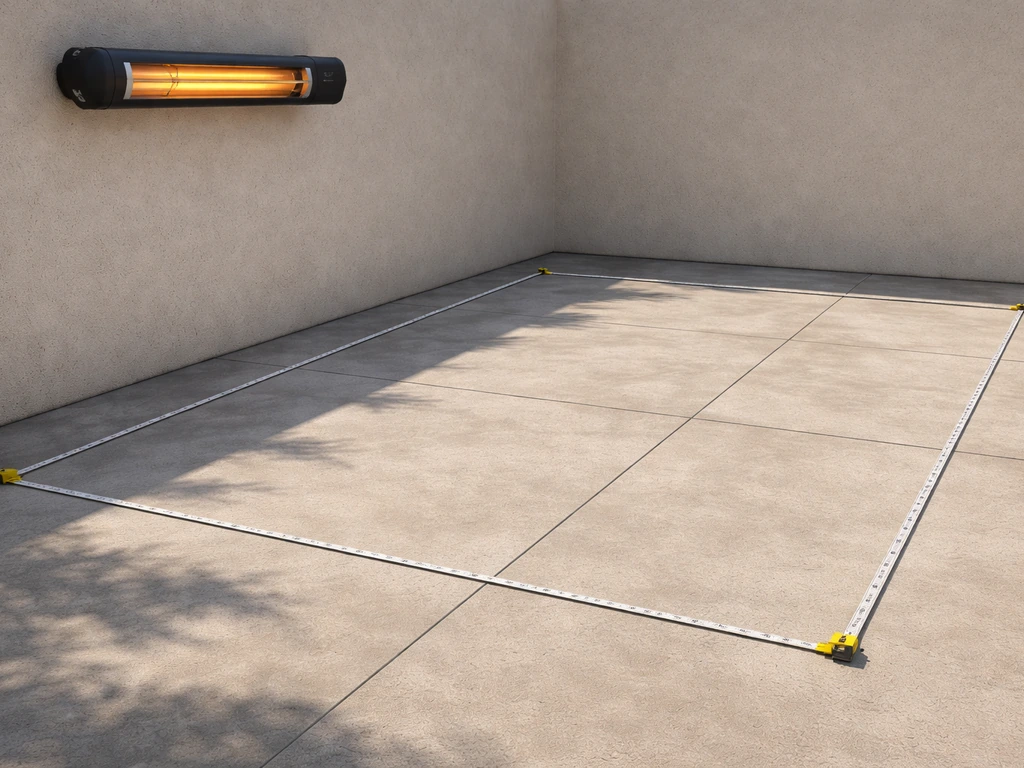
Infratech's stated coverage areas are based on specific mounting heights, and those height ranges are not suggestions, they're requirements for the heater to perform as advertised. Mount a 4000W W-Series unit at 12 feet when it's rated for 8 to 10 feet, and you'll get noticeably weaker heat at seated level. The C/CD-Series has a wider mounting height window of 7 to 12 feet, which gives you more flexibility in taller pergola or patio cover situations.
Infratech's own getting-started guide uses an example coverage area of about 11 by 11 feet and emphasizes that extreme cold or windy conditions can reduce that coverage below average. That's an honest disclosure you won't always see highlighted in dealer reviews. Plan for the lower end of the coverage range in winter or in open areas, not the ideal.
Wind tolerance: covered vs. open patios
Infrared heat is inherently more wind-resistant than convective heat because it doesn't rely on warming the air. That's the claim you'll see repeated in reviews, and it's largely accurate for covered and semi-covered spaces. BBQGuys specifically notes that the CD-Series heat is "mostly unaffected by wind," and that matches real-world feedback from users with pergolas and covered outdoor dining areas.
That said, Infratech's own installation manuals acknowledge that very cold or windy conditions will reduce coverage below average. The honest answer is that Infratech heaters perform excellently in covered patios with some wind protection, hold up reasonably well in lightly exposed areas, but will struggle in fully open, consistently breezy environments, just like any other patio heater. If your patio is wide open and regularly windy, consider placing heaters closer to the seating area and plan for multiple units rather than relying on the stated maximum coverage range.
Instant heat and comfort experience
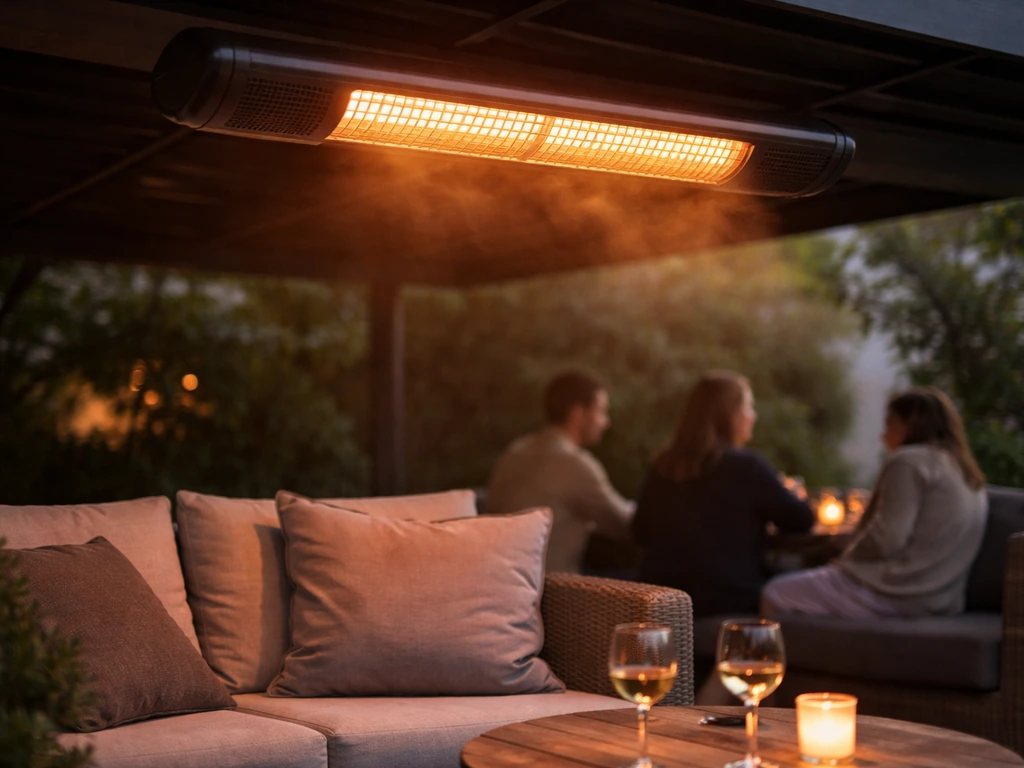
One genuine advantage Infratech owners notice quickly is that the heat is available almost instantly. You don't wait for a burner to warm up or for warm air to circulate. You turn it on, and within seconds you feel the radiant warmth. Combined with the soft amber glow (rather than glaring red light), the comfort experience is genuinely pleasant in a way that some cheaper infrared heaters aren't.
Installation and safety: clearances, wiring, and weather ratings
Infratech heaters are fixed-mount units, which means you're committing to a permanent installation. These are not plug-in, move-around heaters. If you want that flexibility, look elsewhere. But if you're ready for a proper install, here's what you need to know.
Electrical requirements
Most Infratech heaters run on 240V. That means you need a dedicated 240V circuit run to the mounting location, which typically involves an electrician if you don't already have one nearby. This is the biggest upfront consideration: the heater itself may cost $300 to $600 or more, and professional electrical work can add a few hundred dollars on top. Factor that into your budget before comparing it against a $150 propane heater.
Clearance requirements
Infratech's C-Series installation manual specifies a minimum 18-inch clearance on all four sides of the heater and a 36-inch clearance directly in front of the heating element. These are not optional guidelines. Installing a heater too close to a combustible ceiling or overhead structure is a fire risk, and violating clearance requirements can also void your warranty and potentially your homeowner's insurance. Measure your mounting location carefully before buying.
Minimum mounting heights
For W-Series heaters, the installation manual sets the minimum mounting height at 6 feet for UL Listed models and 8 feet for CUL Listed models. In practice, 8 to 10 feet is the sweet spot for performance across most of the lineup. Going lower creates a safety hazard; going significantly higher reduces effective heat at seated level.
Weather and safety ratings
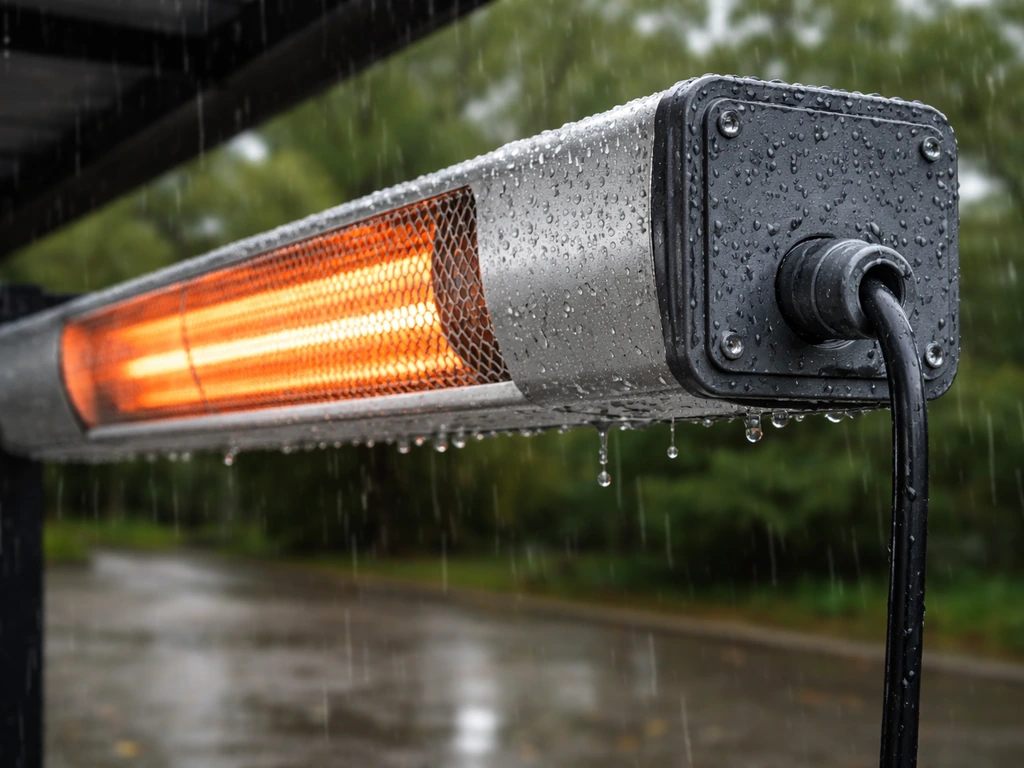
Infratech heaters are UL and CUL Listed for indoor and outdoor use. The CD-Series and related models call for IPX4-rated outdoor wiring components at minimum, meaning the wiring connections need to be protected from water splashing from any direction. Infratech also includes overheat protection in the W/WD series, and mounting options include wall, ceiling, pole, drop pole, and flush mount configurations depending on your patio structure. The heaters themselves can be cleaned with a wipe down or isopropyl alcohol on the reflectors, and the manuals emphasize letting the unit cool fully before any maintenance.
Operating costs and efficiency: what you'll actually spend
Electric infrared heaters get talked up as efficient, and the 90%-plus conversion rate claim is legitimate. But "efficient" doesn't automatically mean "cheap to run." The cost depends on your local electricity rate and how many watts you're running.
A 4000W Infratech heater running at full power draws 4 kWh per hour. At a national average electricity rate of roughly $0.16 per kWh, that's about $0.64 per hour. Run it at 50% intensity with Infratech's dimmer control, and you're looking at around $0.32 per hour. Over a full season of weekend evenings, that adds up but is very manageable compared with propane.
Compare that to propane: a standard 40,000 BTU propane patio heater costs roughly $1. A WoodlandDirect buying guide estimates that a typical 40,000 BTU propane patio heater costs about $1.70 per hour to use 40,000 BTU propane patio heater costs roughly $1.50 to $3.00 per hour. 50 to $3.00 per hour depending on your region and how much propane costs locally. Even at the low end, that's more than double the operating cost of the Infratech at full power. Natural gas costs less per BTU than propane, so natural gas heaters can be competitive on operating cost, but they require a gas line and produce combustion byproducts that disqualify them from enclosed spaces.
| Heater Type | Typical Operating Cost/Hour | Ventilation Required | Wind Sensitivity | Installation Complexity |
|---|---|---|---|---|
| Infratech electric infrared (4000W) | ~$0.64 at full power | No | Low to moderate | Medium (240V wiring) |
| Propane patio heater (40,000 BTU) | $1.50–$3.00 | Recommended | High (convective) | Low (portable) |
| Natural gas patio heater | $0.40–$0.80 (varies) | Yes | High (convective) | High (gas line) |
| Budget plug-in electric heater | $0.20–$0.40 (1200–2400W) | No | Moderate | Low (120V) |
The other efficiency argument worth making is behavioral: because infrared heat is instant, you don't run the heater for 20 minutes before guests arrive. You turn it on when people sit down and off when they leave. That alone saves meaningful energy compared to gas heaters that often get left running.
How to choose the right Infratech unit for your patio
The sizing question is where most buyers get stuck. Here's a practical framework.
Step 1: Measure your usable heating zone
Don't try to heat your entire patio. Focus on where people actually sit. A typical outdoor dining set might occupy a 10 by 10 foot area. A sectional sofa setup might be 12 by 12 feet or larger. Measure the seating footprint, not the total patio square footage.
Step 2: Match wattage to coverage
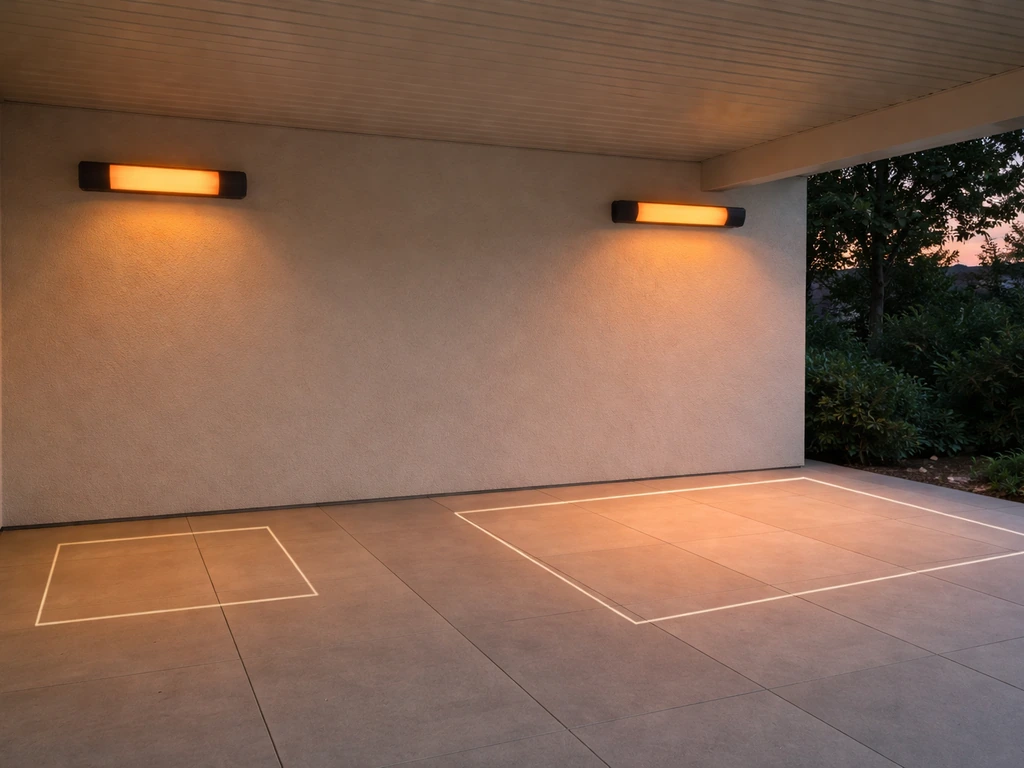
Use Infratech's published coverage specs as a starting point, then size up one step if your space is exposed, cold-climate, or you want comfortable heat rather than just technically-warm heat.
- Up to 7 x 7 feet at 7–8 ft mounting height: CD 3024 (3000W) or W-Series 2000–2500W
- Up to 10 x 10 feet at 8–10 ft mounting height: CD 5224 (5000W) or W4024MG (4000W)
- Larger seating areas (12 x 12 ft or more): Two units side by side rather than one oversized unit
- Long, narrow covered patio (e.g., 8 x 20 ft): Two or three W-Series units spaced evenly along the length
Step 3: Confirm your mounting height
If your patio cover is at 8 feet, you have solid options across the W and CD series. If your pergola is 12 feet, focus on the C/CD-Series which handles up to 12-foot mounting heights more gracefully. If you're below 7 feet, Infratech may not be the right fit from a safety clearance standpoint.
Step 4: Decide on controls
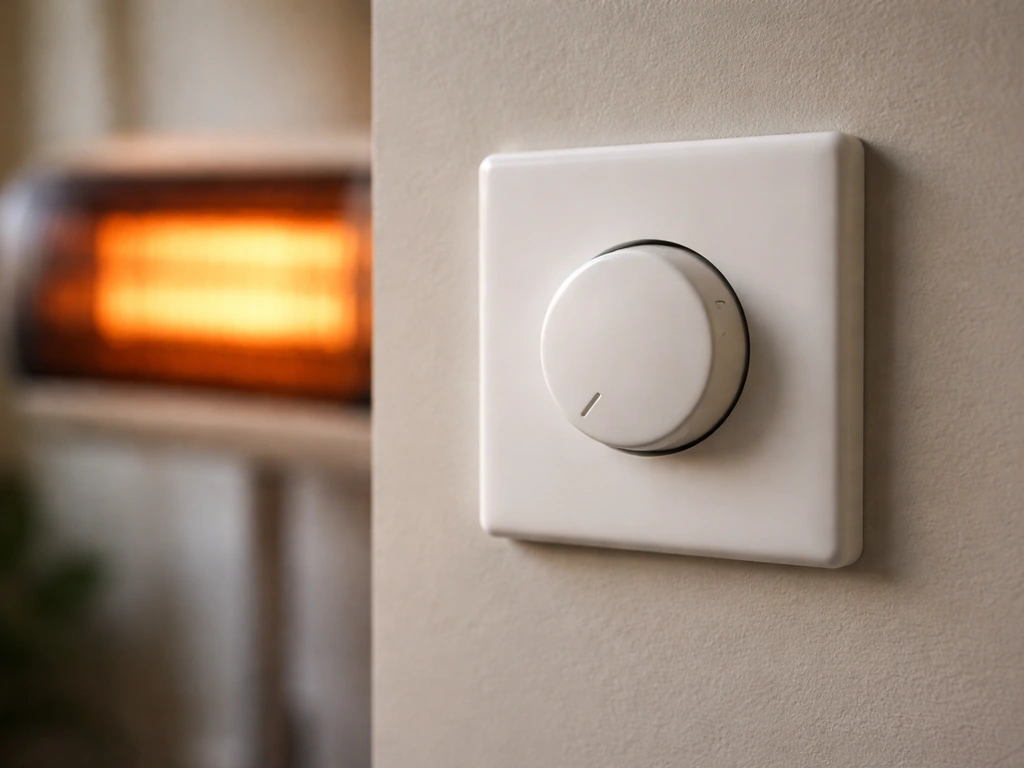
For a single heater, a standard wall dimmer or the built-in switch is fine. For two or more heaters, or if you want the convenience of intensity control and timers, invest in Infratech's universal control panel. The smart home integration option (Wi-Fi/Bluetooth voice and app control) is genuinely useful if you entertain often and want to adjust heat without leaving your seat.
Best overall picks and what to consider if Infratech isn't quite right
Best Infratech picks by situation
- Best for a small covered patio or pergola (up to 10 x 10 ft): Infratech W4024MG (4000W W-Series). It's the most versatile single unit in the residential lineup, covers a full dining table footprint, and is widely available.
- Best for a larger covered patio or restaurant-style setup: Infratech CD 5224 (5000W CD-Series). The dual-element design and 7–12 ft mounting height flexibility make it the go-to for serious outdoor entertaining spaces.
- Best for a budget-conscious buyer with a smaller zone: W-Series 1500W or 2000W models. Lower upfront cost, still very efficient, appropriate for smaller seating nooks or supplemental heating.
- Best for full patio zone control: Any CD-Series or WD-Series heaters paired with Infratech's universal control panel with dimming, timers, and optional smart home integration.
When Infratech might not be the best fit
Infratech is a fixed-mount, hardwired product. If you rent your space, move frequently, or simply don't want to deal with an electrician, it's the wrong tool. In those cases, a quality propane tower heater or a tabletop propane unit gives you heat you can take with you. If you're comparing brands in the fixed electric infrared space, there are other players worth considering depending on your budget and availability. If you're looking specifically for tiki brand patio fire pit reviews, compare fire pit size, heat output, and safety features before buying.
It's also worth knowing that Infratech isn't the only game in this category. Many readers also look for thermo tiki patio heater reviews before deciding which patio heater type fits their setup. Other electric patio heater brands reviewed on this site, including Trustech and Totum models for budget buyers, and options like the Thermo Tiki or Big Timber heaters for propane-focused shoppers, each serve different priorities.
If you are specifically comparing Totum models, a totum patio heater review can help you judge build quality, heat output, and real-world coverage before you buy. If you’re specifically looking at Trustech options, the Trustech patio heater reviews can help you compare models side by side before you buy. For homeowners comparing tiki brand patio fire pit reviews and other outdoor flame options, it helps to contrast how wind, fuel cost, and safety clearances affect real-world comfort.
If you’re specifically looking for a lil timber patio heater review, it’s worth comparing how it performs outdoors versus the fixed electric infrared approach described here. If your patio is fully exposed and wind is a consistent problem, a high-BTU propane heater with a windscreen might deliver better perceived warmth for your specific conditions even if it costs more to run.
Your next steps, simplified
- Measure your seating footprint (not total patio area).
- Check your mounting height against Infratech's coverage specs: W-Series for 6–10 ft heights, CD-Series for 7–12 ft heights.
- Confirm you have or can install a 240V circuit at the mounting location.
- Pick your wattage: 4000W W-Series or 5000W CD-Series for most standard 10 x 10 ft zones.
- Add a second unit if your seating area is larger than 10 x 10 ft or if your patio is exposed and regularly windy.
- Budget for installation: heater price plus 240V wiring if needed.
- Consider the universal control panel if you're running two or more units or want smart home convenience.
If you do all of that and Infratech still feels like more project than you want right now, that's a completely valid conclusion. A good propane heater gets you heat tonight without a permit or an electrician. But if you want a permanent, clean, efficient, and comfortable heating solution for a covered patio you use regularly, Infratech is genuinely hard to beat at this quality level. For a more direct look at specific models, here is our Gtech patio heater review and what to expect from their heating performance.
FAQ
Can I install an Infratech infratech patio heater reviews unit on a 120V outlet or use an extension cord?
Check the heater label for the exact voltage requirement (most models are 240V hardwired), then confirm you have an available dedicated breaker capacity at that voltage. If you are trying to run multiple heaters, do the math on total load (watts ÷ volts) and avoid mixing them on a shared circuit unless the manufacturer explicitly allows it, because dimmers and timers still draw full power when set to high.
What should I do if I don’t have 240V wiring at my patio?
Not safely. These are fixed-mount, hardwired units, designed around specific circuit wiring and outdoor-rated components. Even if a partial solution exists (for example using a different transformer or adapter), it would still need to meet the clearance, electrical rating, and weatherproofing requirements in the manual, and using an outlet-style setup can create code and warranty issues.
How do I choose wattage if my patio is larger than the heater’s published coverage?
Start with the seated area, then add a buffer if your patio is exposed or you want “comfortable warm” instead of just “technically heated.” A useful rule of thumb is to size one step higher than the published spec when the heater will be at the low end of the permitted mounting height or during winter nights, because real coverage drops under extreme cold or heavier wind.
In windy conditions, is one high-watt unit enough or should I add more heaters?
If your patio is semi-covered (like under a pergola) and you still get gusts, mounting distance and number of heaters matter more than max BTU equivalents. Place heaters closer to the seating line, and consider using two lower-watt heaters instead of one that you are forced to mount too high, since seated-level comfort depends on how much radiant energy reaches people’s clothing and nearby surfaces.
Does furniture placement affect coverage with Infratech heaters?
Do not assume coverage is the same in all directions. The heater’s radiant output concentrates within the mounting geometry, so furniture placement matters. Keep a clear “view” between heater and seating and avoid blocking the beam with tall backs, storage boxes, or oversized umbrellas, since objects will absorb infrared and reduce how much reaches people.
What’s the best way to control multiple heaters for comfort and cost?
They should be controlled as space-zones, not as a single on/off device for the whole patio. If you have multiple seating areas, use the universal control panel or separate circuits so you can run only the heaters that correspond to where guests are sitting, and lower intensity earlier when people are farther from the heater.
How quickly will people feel heat in practice, and should I run it at full power or low intensity?
You can turn the heater on “instantly” for comfort, but you should not treat it like a quick on/off toy without considering session length. For best results, pre-warm briefly at arrival (seconds to a couple minutes depending on how cold it is) and then adjust intensity rather than repeatedly cycling from full off to full power if you will be entertaining for hours.
What maintenance should I plan for each season, and what can I safely clean?
For maintenance, wait until the unit is fully cool, wipe reflectors gently, and avoid abrasive cleaners. Also, periodically check for spider webs and debris around the front area, since buildup can affect reflectivity. If you have condensation or heavy moisture exposure, inspect the outdoor wiring connections to ensure IPX4-rated protection remains intact after seasonal weather.
What are the most common clearance mistakes that affect safety or performance?
Clearance requirements are a common mistake. Measure from the heater itself, confirm the minimum side clearance and the larger front clearance to the heating element, and verify overhead structures (rafters, soffits, pergola beams) are not within those distances. If you install too low for your model’s minimum mounting height, you can reduce safety margin and weaken effective heating at seated level.
Why does my heater feel weaker than the published coverage area?
Coverage claims are based on mounting heights and typical conditions, so “ideal weather” is not what you should plan around. In winter or areas with consistent wind, assume you will need either a higher mounting height within the allowed range and/or more heaters placed closer to seating, otherwise the delivered warmth can feel disappointing even if the heater is operating correctly.